Vienna has a reputation for being one of Europe’s pricier capitals. And yes, you can drop a lot of money on fancy coffee houses and opera tickets. But here is the truth: Vienna is also one of the most walkable, park-filled, and publicly accessible cities in Europe. With a little planning, you can see the highlights, eat like a local, and sleep well without emptying your bank account. This guide shows you exactly how to spend 3 days in Vienna on a budget.
You can enjoy a full Vienna trip for under $150 per day per person if you use public transit, eat at markets and bakeries, book museum tickets online, and skip overpriced tours. This itinerary focuses on free landmarks, affordable food stalls, budget-friendly museums, and smart transportation choices that save both time and money.
Why Vienna Works for Budget Travelers
Vienna is compact. Most major sights sit inside the Ringstrasse, a circular boulevard that rings the old town. You can walk from one end to the other in about 30 minutes. That means you save on taxis and ride shares. The public transit system is clean, safe, and cheap. A 72-hour ticket costs around 17 euros and covers all trams, buses, and subways.
Many of Vienna’s best experiences are free. You can walk through the grounds of Schonbrunn Palace without paying. You can see St. Stephen’s Cathedral from the inside for free. You can hang out in the Stadtpark, watch the Danube flow by, and visit the Naschmarkt without spending a dime. The city is full of public art, street musicians, and green spaces that reward people who just wander.
Local tip from a Vienna resident: “Most tourists buy the Vienna Pass thinking it saves money. But if you are here for 3 days and move at a relaxed pace, you often spend less by picking two or three paid attractions and leaving the rest for free wandering. The pass only works if you visit five or more paid sites.”
How to Plan Your 3 Days in Vienna on a Budget
Follow these three steps before you go. They will save you both money and frustration.
- Book your accommodation in the 7th or 8th district. These neighborhoods are a 15 minute walk from the city center but cost half as much as hotels near St. Stephen’s. You get bakeries, local pubs, and a quieter vibe. Look for guesthouses or apartment rentals on side streets.
- Buy a 72-hour public transit ticket at the airport. Use the machine near the baggage claim. It covers trains into town and all city transport. Do not buy single tickets. The pass pays for itself by day two.
- Reserve museum tickets online at least 48 hours ahead. The Belvedere and the Hofburg offer lower prices for advance bookings. You also skip the line, which lets you see more in less time.
Day 1: The Imperial City Without the Imperial Price Tag
Morning: Schonbrunn Palace Grounds
Start your trip at Schonbrunn, the summer residence of the Habsburgs. The palace itself costs money to enter. The gardens, the hill, the fountains, and the hedge mazes are all free. Walk up to the Gloriette for a panoramic view of the city. This is one of the best free viewpoints in all of Vienna. Bring a coffee from a nearby supermarket and sit on a bench for a while. Locals do this every weekend.
If you want to see one paid room, choose the Grand Tour. It costs about 20 euros and shows you 40 rooms of imperial life. Book your slot online to save two euros per ticket.
Lunch: Naschmarkt
Take the U4 subway line to Kettenbruckengasse. The Naschmarkt is Vienna’s biggest outdoor food market. You can get a falafel wrap for 4 euros, a bowl of pasta for 6 euros, or a fresh juice for 3 euros. Walk the aisles and sample olives, cheese, and bread from the stalls. This is cheaper than any sit-down restaurant in the first district.
Afternoon: Hofburg Palace and the City Center
Walk from the Naschmarkt to the Hofburg Palace. The walk takes about 20 minutes and passes beautiful buildings along the Maria Theresien Platz. The Hofburg is the former imperial palace. You can enter the courtyards, the library square, and the public gardens for free. The Sisi Museum costs money, but you can skip it and still see plenty.
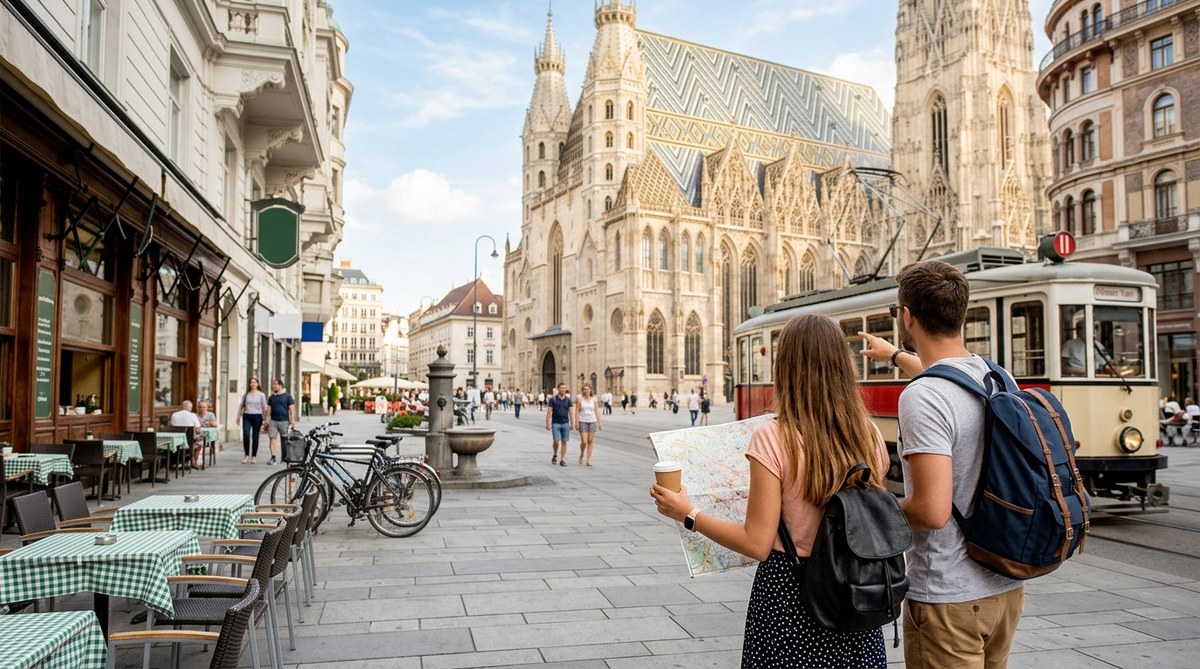
From the Hofburg, walk to the Rathaus (city hall). The square in front often holds free events. Then head to St. Stephen’s Cathedral. The main nave is free to enter. Climb the south tower for about 5 euros if you want the best view of the rooftops.
Evening: Dinner in the 7th District
The 7th district (Neubau) is full of affordable restaurants and bars. Go to Schleifmuhlgasse or Neustiftgasse. Look for places with chalkboard menus outside. A plate of schnitzel with potato salad costs about 12 euros. A beer is around 4 euros. Skip the restaurants right on the main shopping street. Walk one block sideways for better prices.
Day 2: Art, Parks, and the Famous Coffee Culture
Morning: Belvedere Palace
The Belvedere is a stunning baroque palace complex. The gardens are free and beautiful. The upper palace holds the main art collection. If you want to see Gustav Klimt’s “The Kiss,” you need a ticket. Book online for about 16 euros. The lower palace sometimes has free exhibitions. Check the calendar before you go.
Lunch: A Real Viennese Coffee House
You cannot visit Vienna without sitting in a coffee house. Find one in the 4th or 6th district away from the main tourist streets. Order a Melange (the local cappuccino) and a slice of cake. This costs about 8 to 10 euros total. Sit as long as you want. Bring a book or a journal. This is the Viennese way.
Afternoon: The Prater Park
Take the subway to Praterstern. The Prater is a huge public park with walking paths, meadows, and the famous Riesenrad ferris wheel. You do not need to ride the wheel. It costs 15 euros and the line is long. Instead, walk into the park and enjoy the green space. There are free public toilets, water fountains, and plenty of benches. On weekends, you might see free concerts or sports events in the park.
Evening: Free Music and Local Food
Vienna has a strong tradition of free classical music concerts. Check the website of the Musikverein or the Konzerthaus for free lunchtime or evening shows. Many churches also host free organ concerts. For dinner, try a Wurstelstand (sausage stand). A sausage with bread and mustard costs about 4 euros. It is filling and fast.
| Common Mistake | Budget Fix |
|---|---|
| Buying a Vienna Pass for 3 days | Pick 2 paid attractions and enjoy free sights instead |
| Eating on the Graben (main tourist street) | Walk 2 blocks away for half the price |
| Taking taxis from the airport | Use the S7 train for 4 euros |
| Ordering water in restaurants | Bring your own reusable bottle |
| Paying for a guided tour of the city | Use a free walking tour app or map |
Day 3: Neighborhoods, Hidden Views, and Leaving Room to Wander
Morning: The 8th District and the Volksgarten
Start your last day in the 8th district (Josefstadt). This is a quiet residential area with lovely courtyards and small cafes. Walk to the Volksgarten, a beautiful public garden with roses and a view of the Hofburg. It is free and usually not crowded. From there, walk toward the Parliament building and the Rathaus for photos.
Lunch: The Brunnenmarkt
Head to the 16th district for the Brunnenmarkt. This is a working-class market with Middle Eastern, Turkish, and Balkan food. You can get a huge plate of grilled meat with rice and salad for 6 euros. The area feels completely different from the center. It is authentic and full of energy.
Afternoon: Karlskirche and the Musikverein
Walk to Karlskirche (St. Charles Church). The church charges a small entry fee (about 8 euros) but the interior is stunning. If you want a free option, just sit on the grass by the pond in front of the church. The reflection is one of the most photographed scenes in Vienna.
If you have not seen a free concert yet, check the Musikverein box office for last minute standing tickets. These cost around 10 euros and let you hear world-class music for a fraction of the normal price.
Evening: A Final Walk Along the Danube Canal
End your trip with a walk along the Danube Canal. The canal has murals, street art, and casual bars under the bridges. You can find food trucks and pop up stands selling cheap drinks and snacks. The atmosphere is relaxed and young. This is where locals hang out on warm evenings.
Where to Save Money in Vienna
Here are the six biggest money savers for your trip.
- Use the 72-hour transit pass. It covers everything and costs less than two taxi rides.
- Eat lunch at markets. The Naschmarkt and Brunnenmarkt offer filling meals for under 7 euros.
- Skip the hotel breakfast. Buy a pastry and coffee at a bakery for 4 euros instead.
- Visit free museums on the first Sunday of the month. Many museums offer free entry that day.
- Drink tap water. Vienna has some of the best tap water in Europe. Carry a bottle.
- Walk everywhere in the center. You will see more and spend nothing.
A Note on Attraction Passes
Many first time visitors wonder about the Vienna Pass. It costs around 85 euros for 72 hours. You need to visit at least five paid attractions for it to pay off. If you move at a relaxed pace and enjoy walking around, you are better off picking two paid sites and skipping the rest. Check out this guide on whether city attraction passes are actually worth the money for a deeper breakdown.
For finding the best places to stay on a budget, read up on how to find budget-friendly hotels in Europe’s most expensive cities. The strategies there work especially well for Vienna.
Your Real Daily Budget for 3 Days in Vienna
Here is what you will actually spend if you follow this itinerary.
| Category | Estimated Cost per Day |
|---|---|
| Accommodation (shared or budget room) | $50 to $70 |
| Food (market breakfast, market lunch, pub dinner) | $25 to $35 |
| Transit (72 hour pass divided by 3) | $6 |
| Attractions (2 paid sites over 3 days) | $10 to $15 |
| Coffee and treats | $5 to $8 |
| Total per day | $96 to $134 |
This leaves room for a souvenir or an extra beer. Vienna on a budget is not about deprivation. It is about making smart choices.
Making the Most of Your Time Without Spending More
The best thing about Vienna is that the city itself is the attraction. The architecture, the parks, the street art, the people watching. You do not need a ticket to enjoy the Ringstrasse. You do not need a guide to appreciate the Danube. You do not need a pass to sit in a coffee house and watch the world go by.
If you are someone who likes to find hidden spots, take a look at 15 hidden gems locals don’t want tourists to know about. Many of those ideas apply to Vienna too.
How to Eat Well Without Spending Much
Vienna’s food scene is surprisingly budget friendly if you know where to look. The city has hundreds of bakeries (backerei) where you can get fresh bread, pastries, and coffee for under 5 euros. The supermarkets like Spar and Billa sell prepared sandwiches, salads, and drinks for half the price of cafes.
For a full guide on saving money on food while traveling, check out budget eating in expensive cities: 15 strategies that actually work. Many of the tips apply directly to Vienna.
The One Splurge Worth Making
If you have room in your budget for one special experience, make it the Staatsoper (Vienna State Opera). Standing tickets cost as little as 10 euros. You get to see one of the world’s greatest opera houses for the price of a sandwich. Buy them at the box office about an hour before the show. Dress is casual. Do not worry about formal clothes. Just go and enjoy the music.
A Final Thought on Your 3 Days in Vienna
Vienna is a city that rewards people who take their time. You do not need to rush. You do not need to see everything. The magic of this place comes from the small moments: sitting in a park with a pastry, hearing music float out of a open window, watching the trams roll by on a quiet street. Those moments are free.
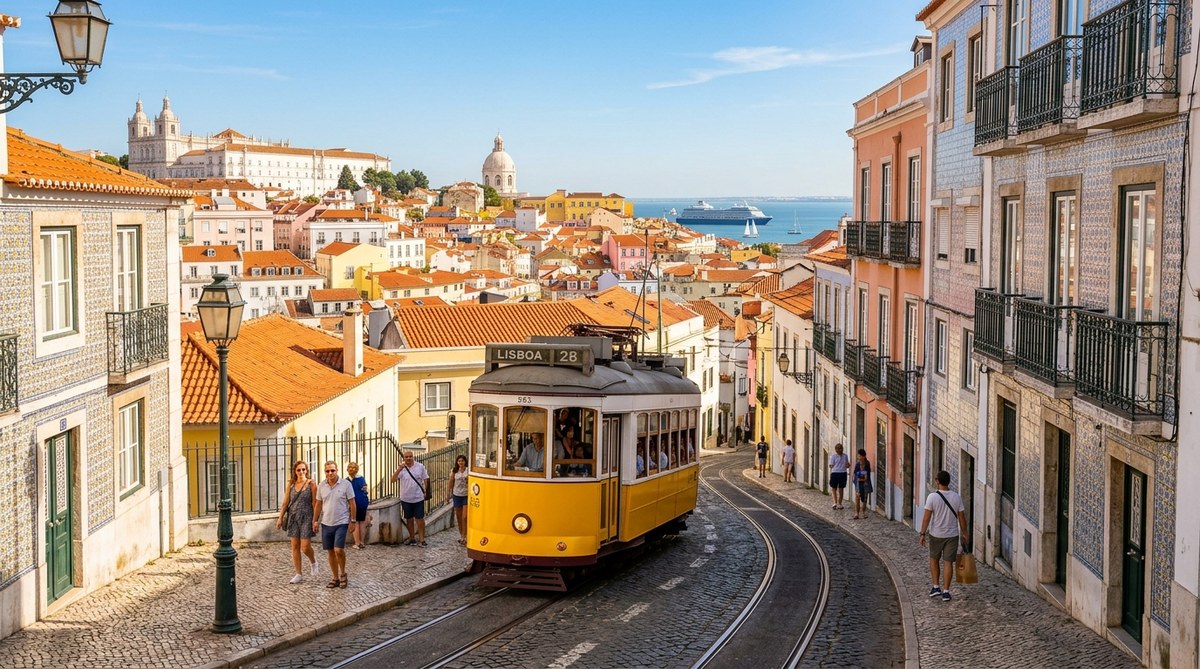
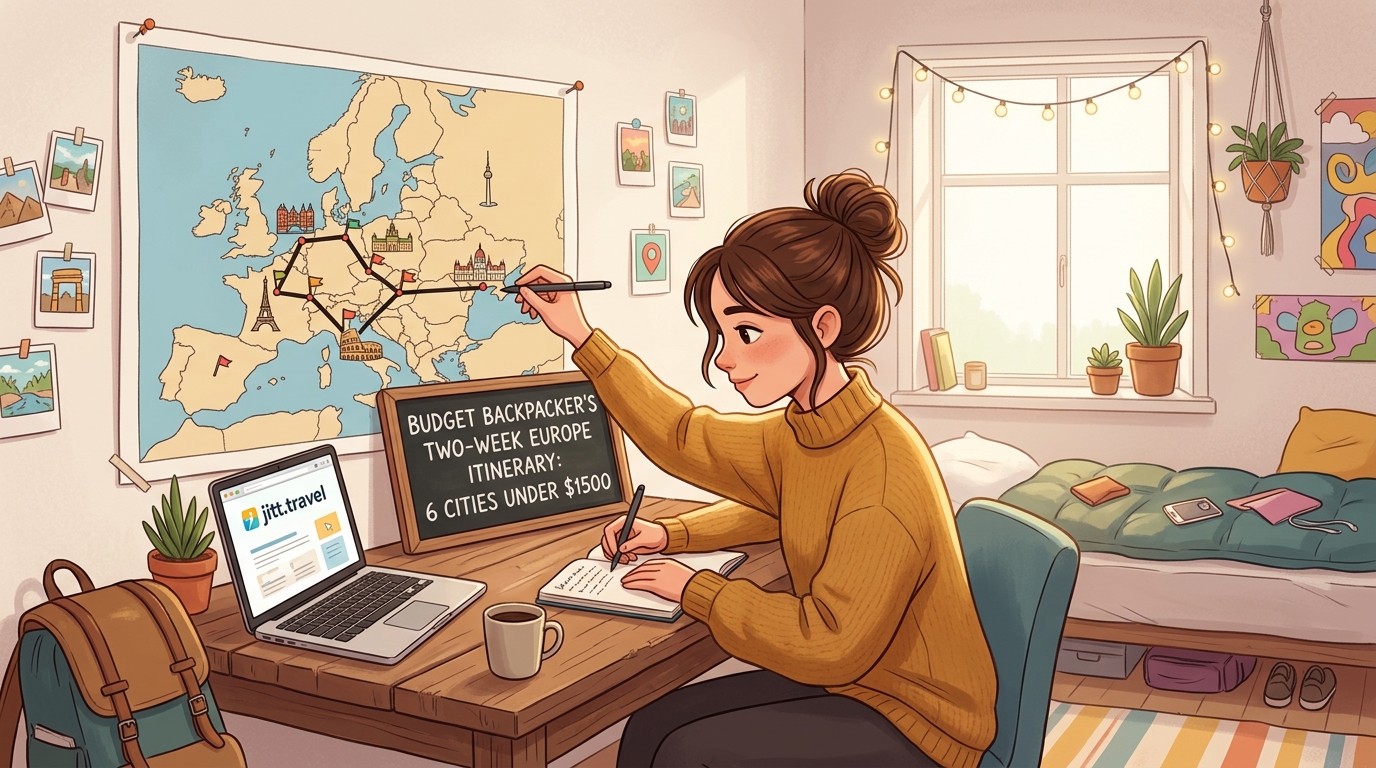
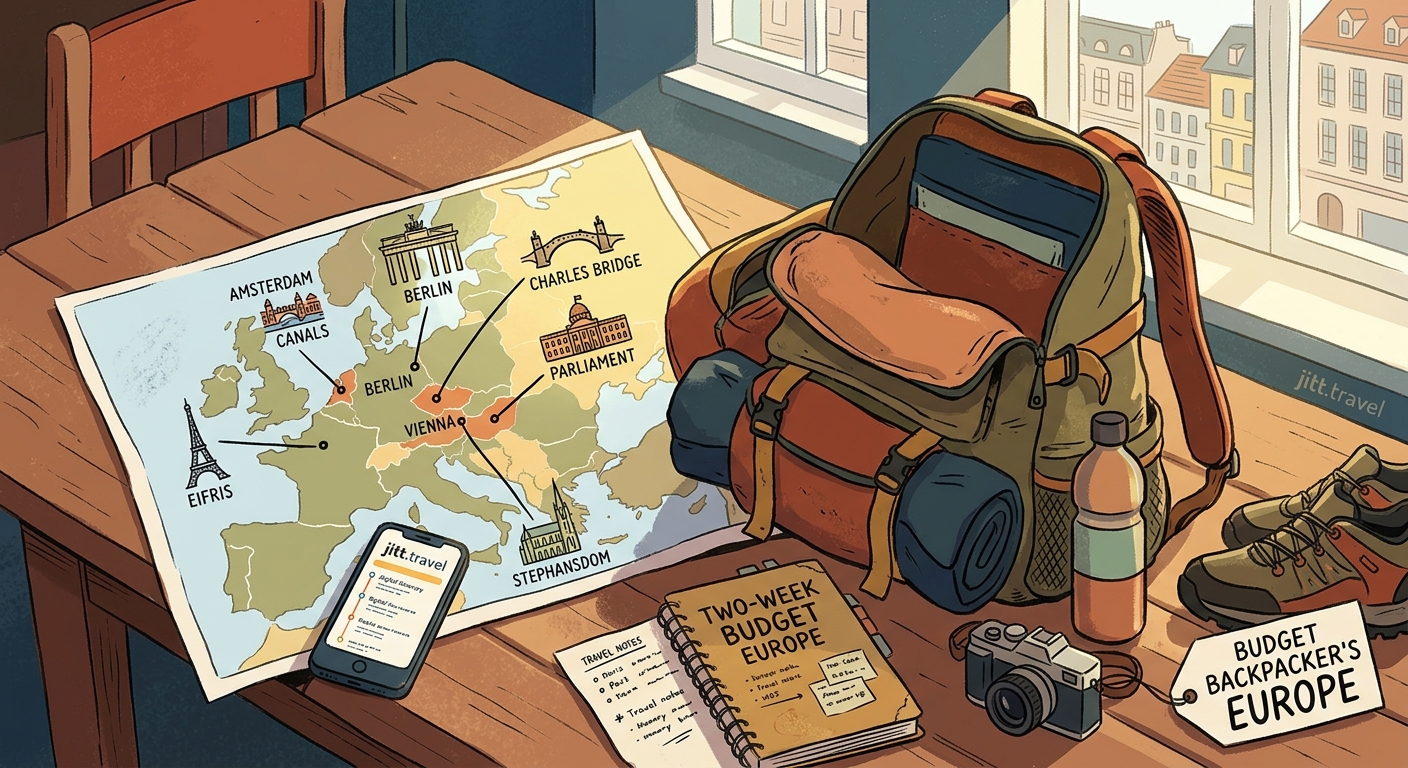
If you are planning more European trips on a budget, you might enjoy this guide on how to spend a perfect 3 days in Lisbon in 2026 or this budget backpacker’s two-week Europe itinerary covering 6 cities under $1500.
Go to Vienna. Walk the streets. Eat the sausage. Drink the coffee. And come home with money still in your pocket. That is the best souvenir of all.